Can You Solder Your Dishwasher Control Board Back to Life?
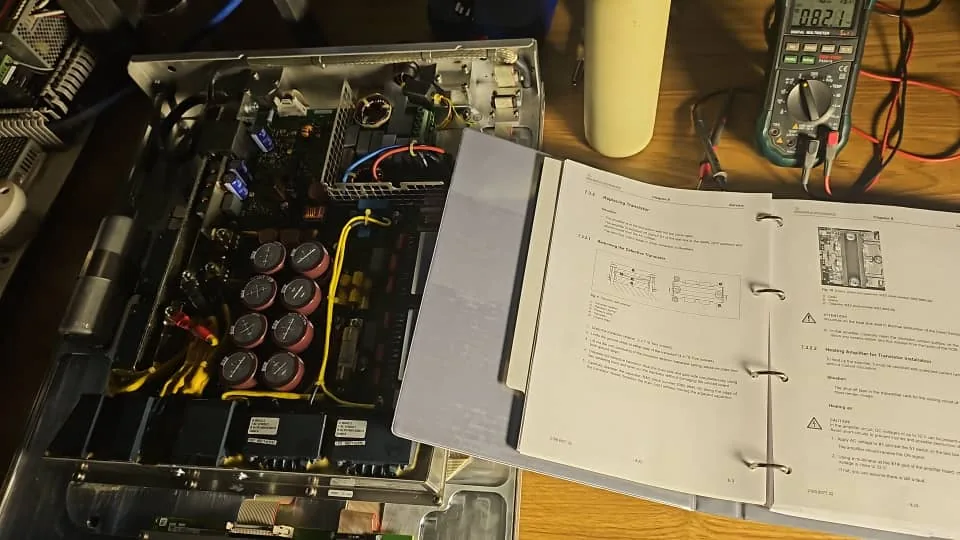
Can You Repair a Dishwasher Control Board by Soldering It?
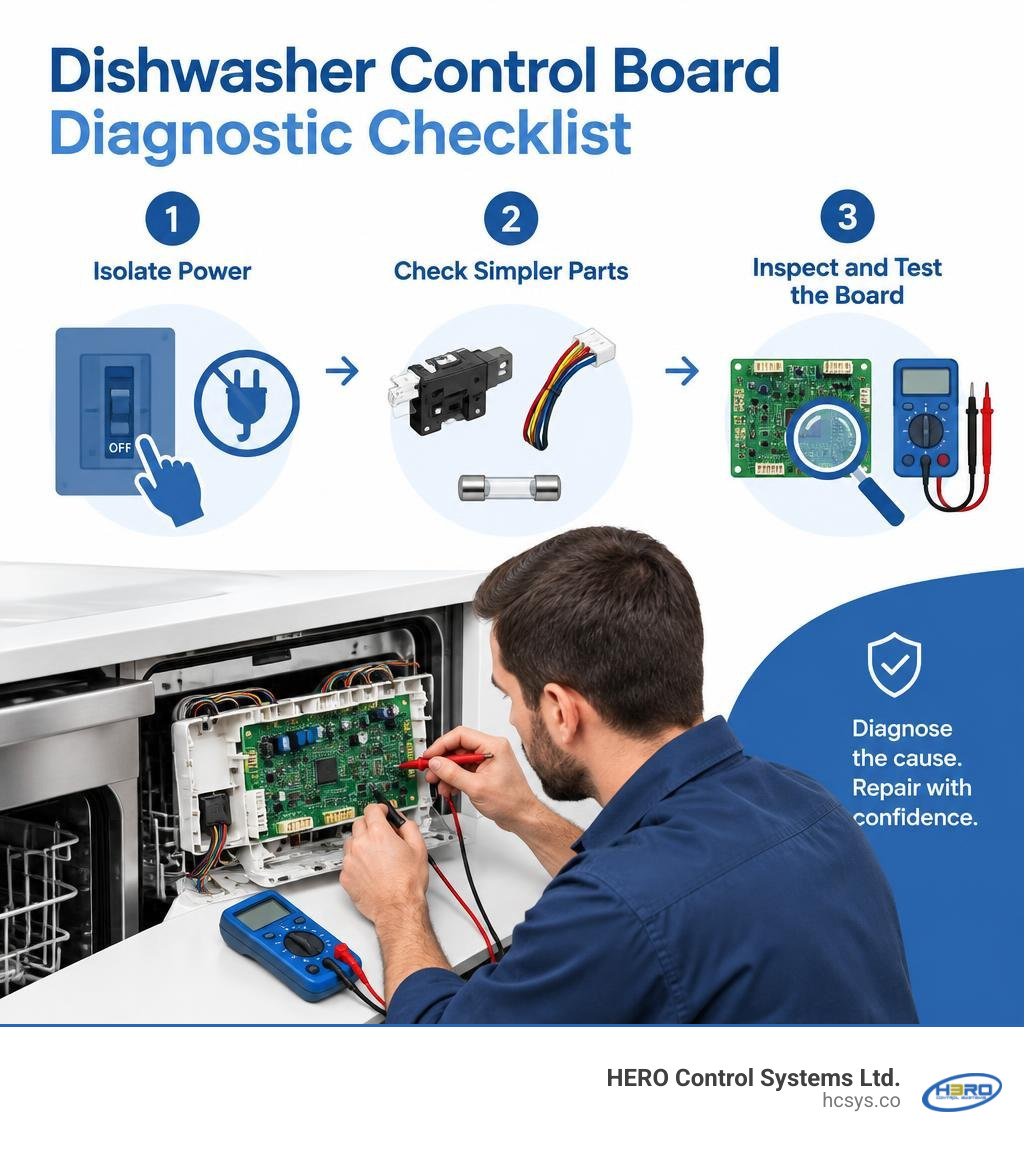
Sometimes, yes. Start dishwasher control board repair by switching off power at the breaker and confirming the dishwasher is safe to work on. Check the door latch, wiring, and fuses before removing the board. If those parts are sound, a technician can inspect the board for failed components, corroded traces, or cracked solder joints. Soldering helps only when the fault is found and the cause is fixed. If you smell burning or the heater stays on, leave the dishwasher off until it has been inspected.
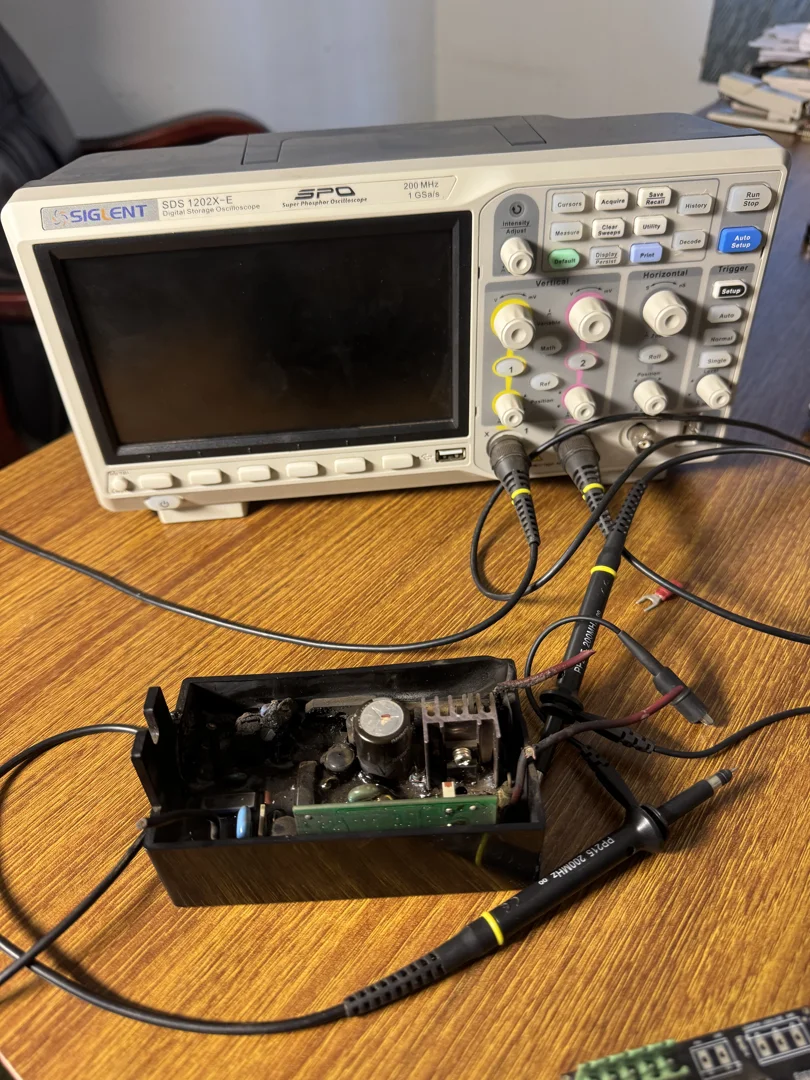
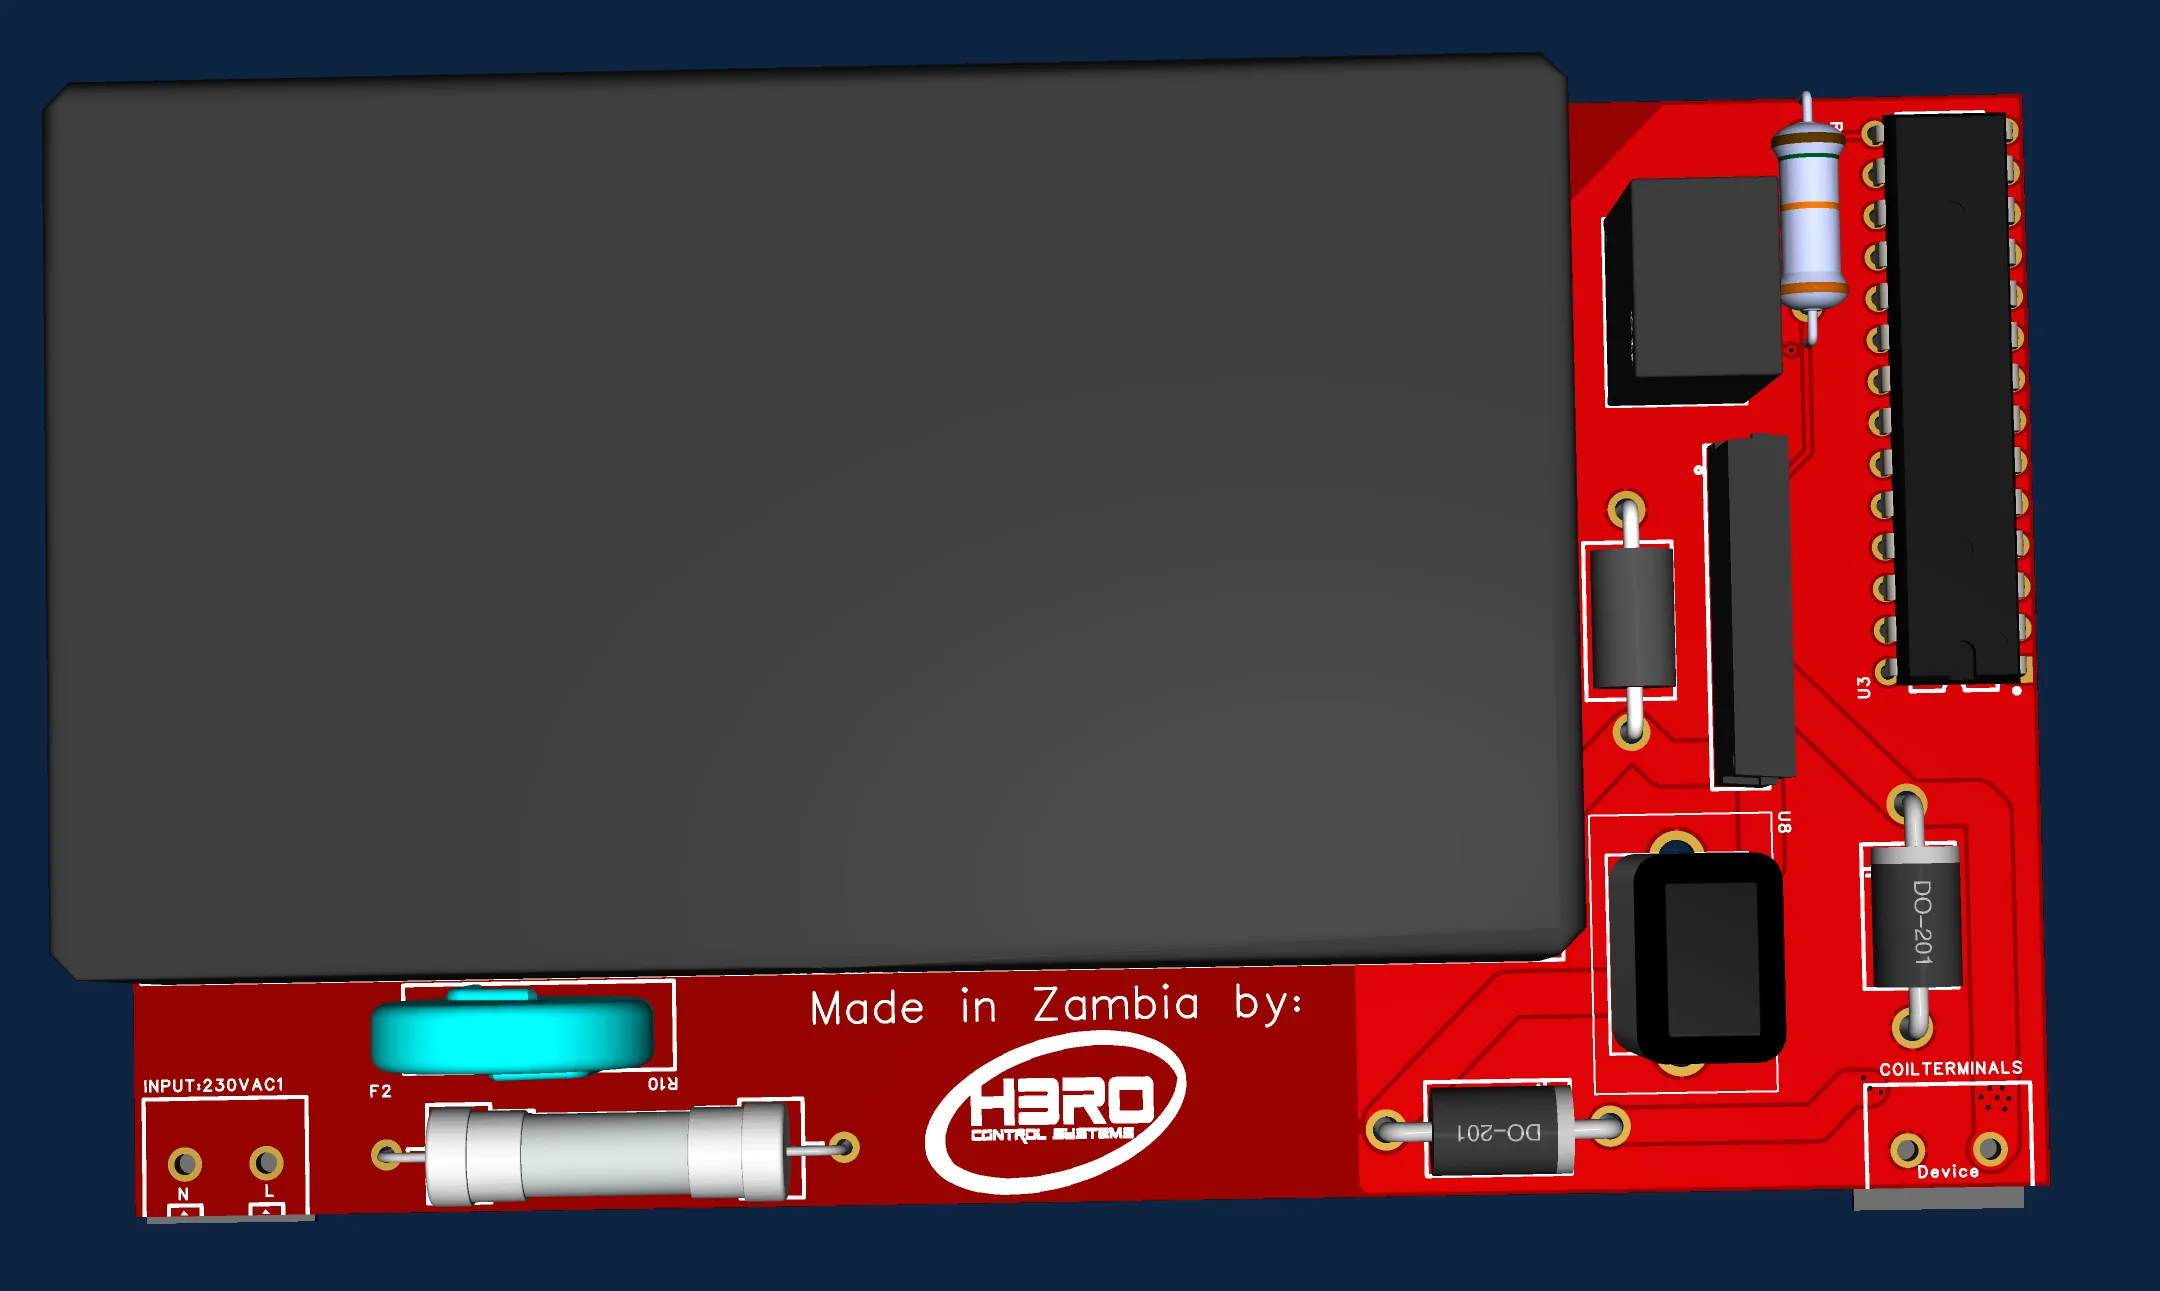
I’m Eng. Cephas Kalembo, founder and CTO of HERO Control Systems Ltd. My work in PCB design and electronics repair informs this guide to dishwasher control board repair, starting with a safe diagnosis.
Common Symptoms of a Failing Dishwasher Circuit Board
The main control board functions as the central brain of your dishwasher. It sequences the water inlet valve, coordinates the wash motor, energizes the heating element, monitors water level sensors, and communicates with the user interface (UI) panel. When this electronic brain suffers hardware damage or logic failure, your appliance behaves erratically.
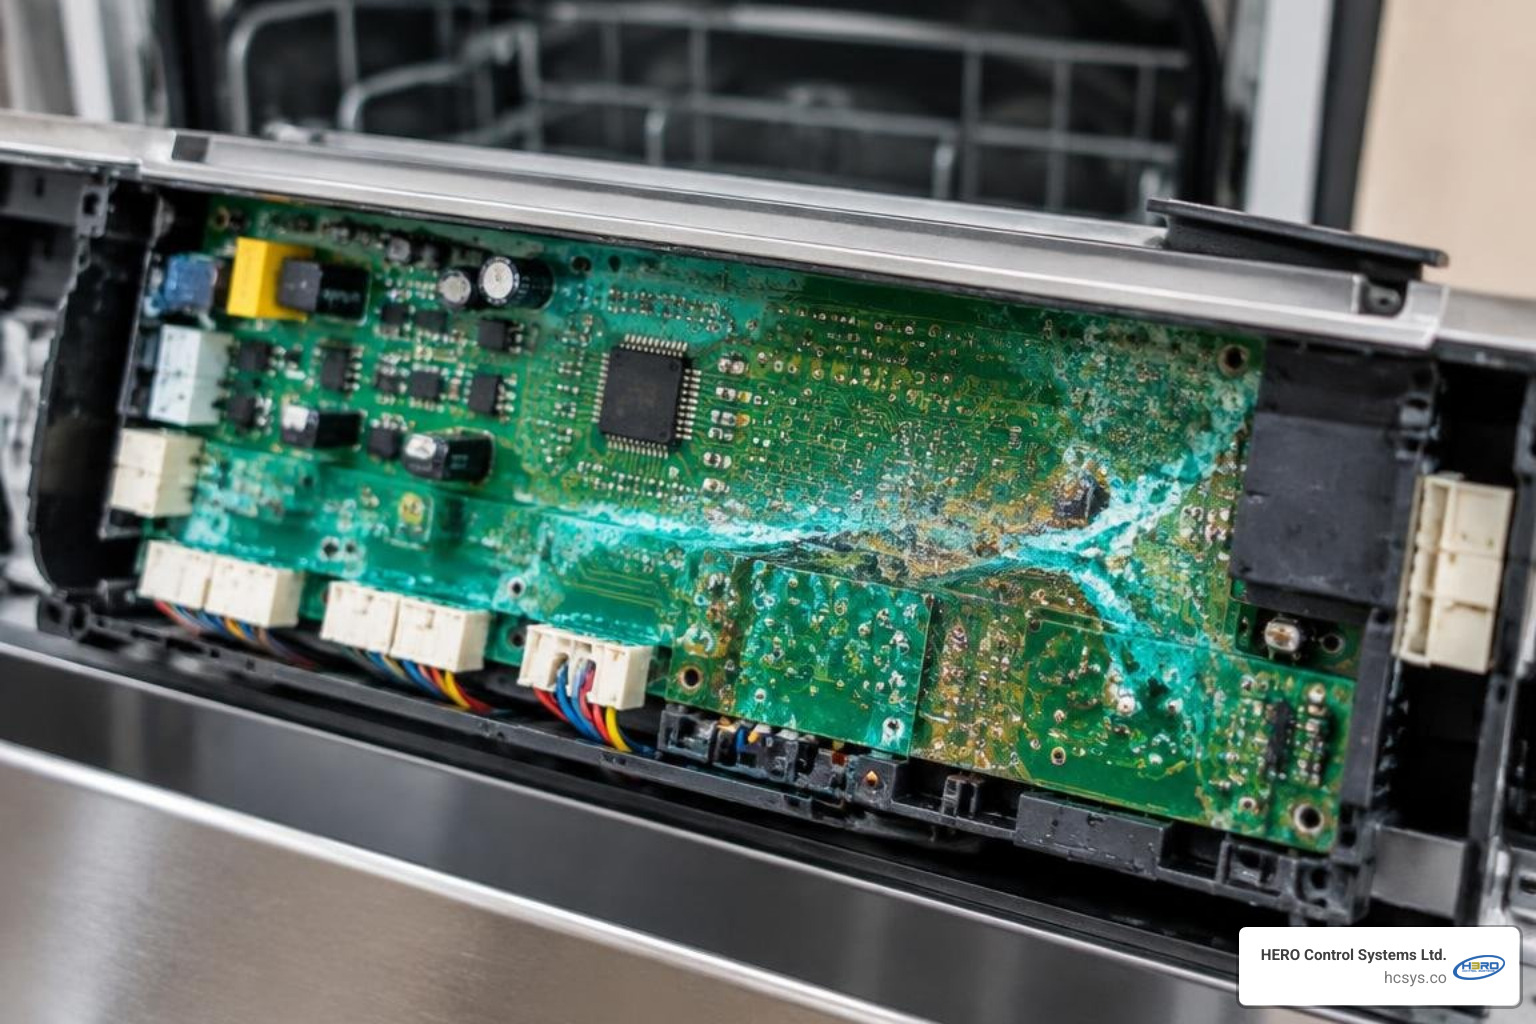
Here are the primary symptoms that point toward a damaged control board:
- Completely dead interface: The touchpad is entirely unresponsive, with no illuminated display characters, LEDs, or status beeps despite confirmed power to the wall junction box.
- Continuous drain pump operation: The drain pump runs non-stop—even when the door is opened or no wash cycle has been initiated—often caused by a shorted switching triac or stuck relay on the PCB.
- Stuck heating element relay: The heating element stays permanently energized, boiling leftover water, melting wash baskets, or creating an intense burning plastic odor.
- Cycle halting mid-wash: The wash program stops abruptly during the cycle, accompanied by flashing error codes or an unending pause before the rinse or dry stage.
- Intermittent power cycles and erratic behavior: The machine randomly changes wash cycles, beeps spontaneously, or loses power when internal water temperatures rise.
- Visible board scorching or burning smell: A distinct electrical ozone or burnt epoxy odor emanates from behind the front door panel or lower kickplate.
Ruling Out Cheaper Components Before Board Level Work
Before blaming the printed circuit board, rule out less expensive external electro-mechanical parts. Modern dishwashers incorporate multiple safety interlocks that mimic a dead main board when they fail.
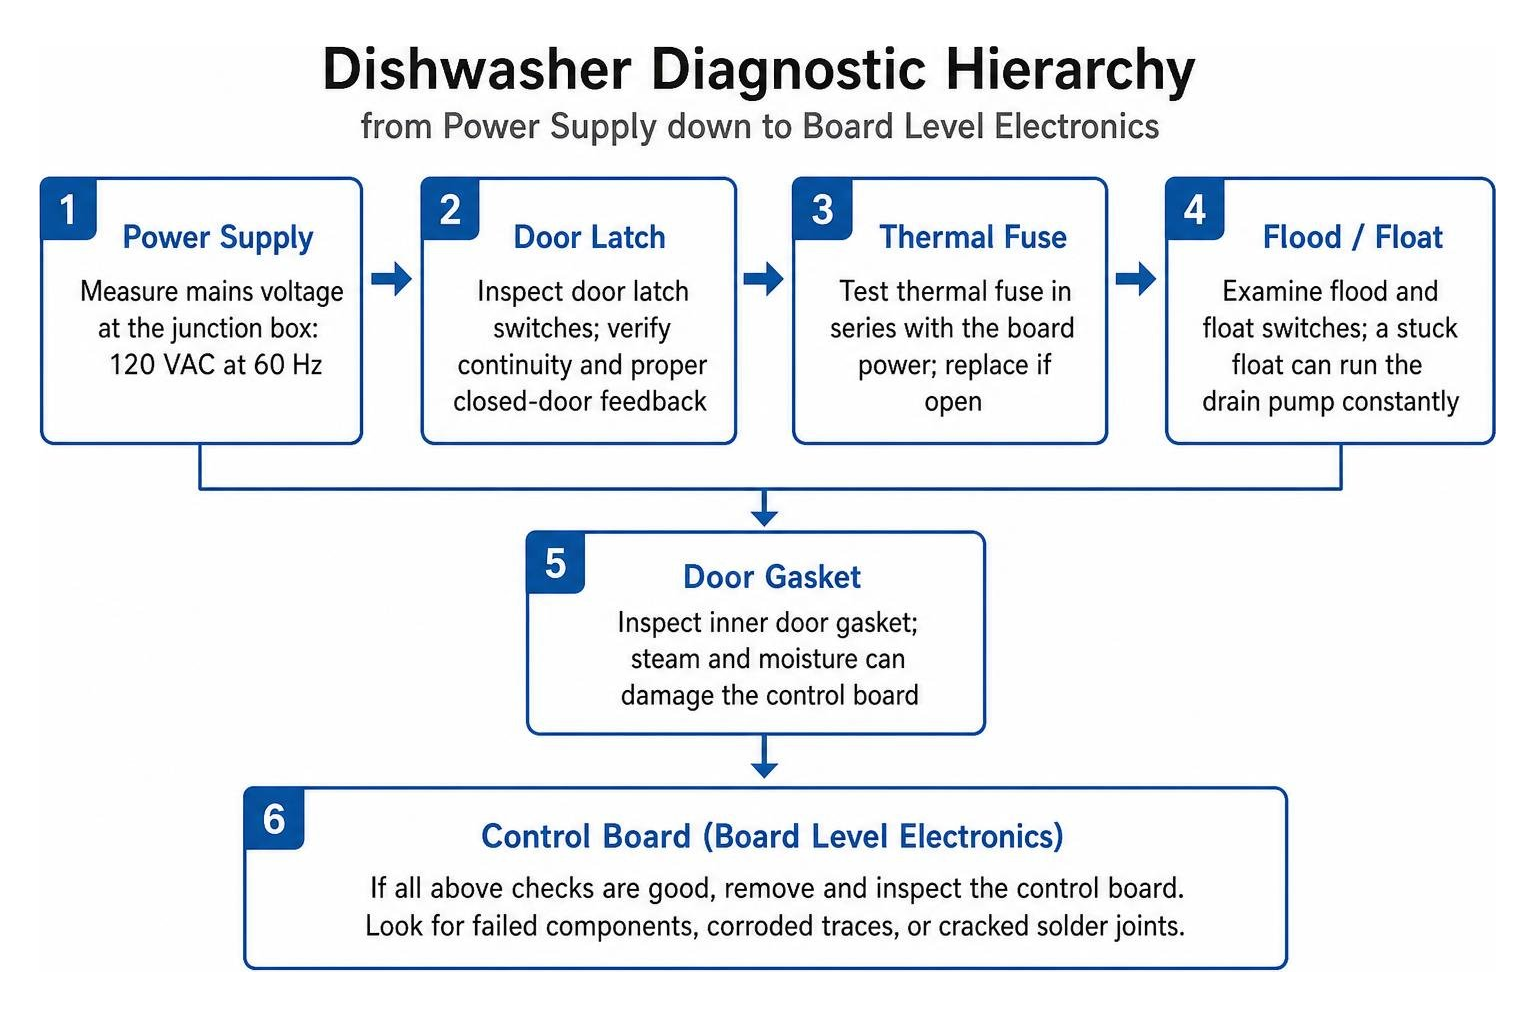
- Measure Mains Voltage at the Junction Box: Remove the lower front access panel and verify with a calibrated digital multimeter that your appliance is receiving a full 120 volts alternating current (VAC) at 60 Hz across the line and neutral wire nuts.
- Inspect the Door Latch Switches: A mechanical door switch that fails to close its contacts prevents 120V line power from routing to the wash motor and heating element. Verify continuity across the microswitch terminals while manually operating the latch mechanism. On modern control architectures, the feedback voltage across the door harness should switch states cleanly between open and closed door positions rather than floating at a static level.
- Test the Thermal Fuse: Located in series with the main control board power harness on many models, the thermal fuse trips permanently when inner door temperatures exceed safety thresholds. Check for low resistance across its terminals; an open reading indicates a blown fuse that requires a direct swap.
- Examine the Flood and Float Switches: If the anti-flood float sensor beneath the tub gets stuck in the raised position due to grease buildup or a minor leak, the board activates the drain pump continuously to prevent a kitchen flood.
- Inspect the Inner Door Gasket: Steam creeping past a worn inner door gasket is the number-one cause of dishwasher control board failure on modern door-mounted designs. Moisture condensates across delicate surface-mount traces, accelerating galvanic corrosion and creating short circuits across micro-controller pins.
Decoding LED Error Signals and the GE CSM Trip
Many modern dishwashers include onboard diagnostic LEDs placed directly on the main control assembly. These light pulses provide specific diagnostic cues before you remove a single wire harness.
For instance, a fast-flashing green LED (pulsing roughly 4 times per second) on certain appliance control modules indicates an active communication failure between the main control module and the user interface board rather than an outright power loss. This frequently happens if UI personality jumpers are improperly configured or if line noise corrupts the data line.
On GE platforms, a dead dishwasher—one with no display, no button response, and zero operation—is often caused by an internal safety shutdown known as a Current Sense Module (CSM) trip. As documented in technical guidance on GE Current Sense Module resets, the CSM monitors electrical current through the heating loop. If it senses an abnormal current draw, ground leakage, or heating element fault, it cuts all operational power to protect the home from thermal damage. The onboard service LED signals this state by flashing a pattern of 7 times within 3 seconds.
To reset a tripped CSM on these models without replacing the board prematurely:
- Enter Consumer Error Mode by pressing the
Select CycleandStartpads simultaneously for 5 seconds. - Once the display or status LEDs illuminate, immediately press and hold the
Select Cyclebutton alone for 5 seconds to switch the system into Service Mode. - Entering Service Mode clears the latched CSM software lockout, allowing you to run diagnostic tests on the water fill, circulation motor, drain pump, and heating element. If the exposed heating element has suffered internal resistance degradation, replace it with updated hardware (such as part WD05X24776) to prevent the CSM from re-tripping on subsequent wash runs.
Step-by-Step Dishwasher Control Board Repair and Diagnostics
If you have confirmed that the power supply, door latch, thermal fuse, and heating element are intact, the fault sits within the control assembly itself.
Preparation and Board Extraction
- Step 1: Isolate Electrical Mains: Turn off the dedicated double-pole or single-pole circuit breaker at your main service panel. Never work on an energized dishwasher.
- Step 2: Access the Board Housing: Depending on your model, the control module is housed inside the front door panel or enclosed in a protective plastic basin underneath the tub behind the lower kickplate. Remove the Torx or hex-head perimeter mounting screws while supporting the door assembly.
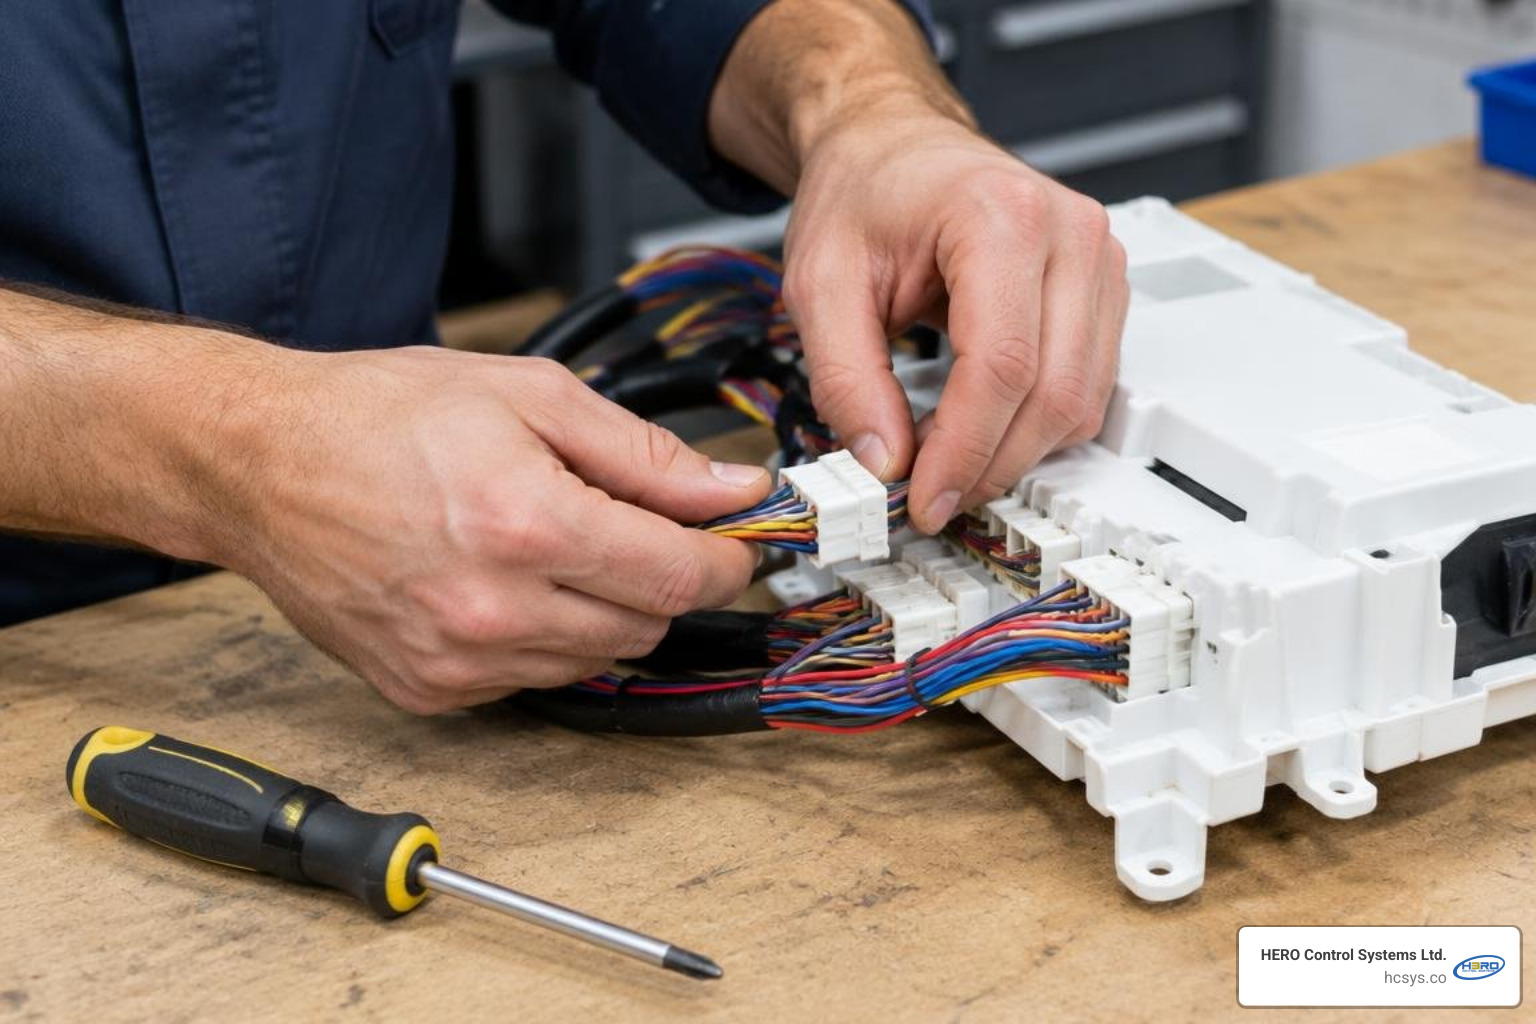
- Step 3: Document and Label Connections: Before unplugging anything, photograph every connector, jumper position, and wire harness route. Connectors can become brittle from thermal cycling over years of high-temperature wash runs.
- Step 4: Release the Retaining Enclosure: Depress the plastic housing retaining tabs to release the connector brace and module caddy without stressing the underlying fiberglass laminate.
Testing Fuses and Triacs During Dishwasher Control Board Repair
Once the bare PCB sits on an ESD-safe workbench, you can isolate the failed electronic components using structured diagnostic procedures.
Following official service manual diagnostic procedures, begin by inspecting onboard surface-mount and radial cartridge fuses (frequently labeled F600 or F601 on standard main boards). Using a multimeter set to low-range resistance:
- A healthy onboard fuse reads below 3 ohms of resistance. A reading showing infinite resistance or an open loop indicates that a downstream component (such as a stalled motor or jammed drain impeller) drew excessive current and severed the fuse trace.
Next, test the solid-state switching elements:
- Triac Inspection: Solid-state triacs govern low-to-medium alternating current loads like the water inlet solenoid, wax motor detergent dispenser, and diverter valve. Measure resistance between the Main Terminal 1 (MT1), Main Terminal 2 (MT2), and Gate pins. A direct short between MT1 and MT2 means the triac has failed closed, keeping that load permanently energized.
- Relay Coil & Contact Testing: High-current devices like the primary wash pump and the 1200-watt heating element rely on electromechanical relays. Check for darkened, pitted, or welded contact points. Inspect the solder joints directly underneath the relay pins on the bottom copper layer; thermal expansion often creates microscopic annular cracks (cold solder joints) that break connection under load.
Soldering Techniques for Dishwasher Control Board Repair
Board-level rework demands precise thermal control to avoid lifting delicate copper traces from the fiberglass substrate.
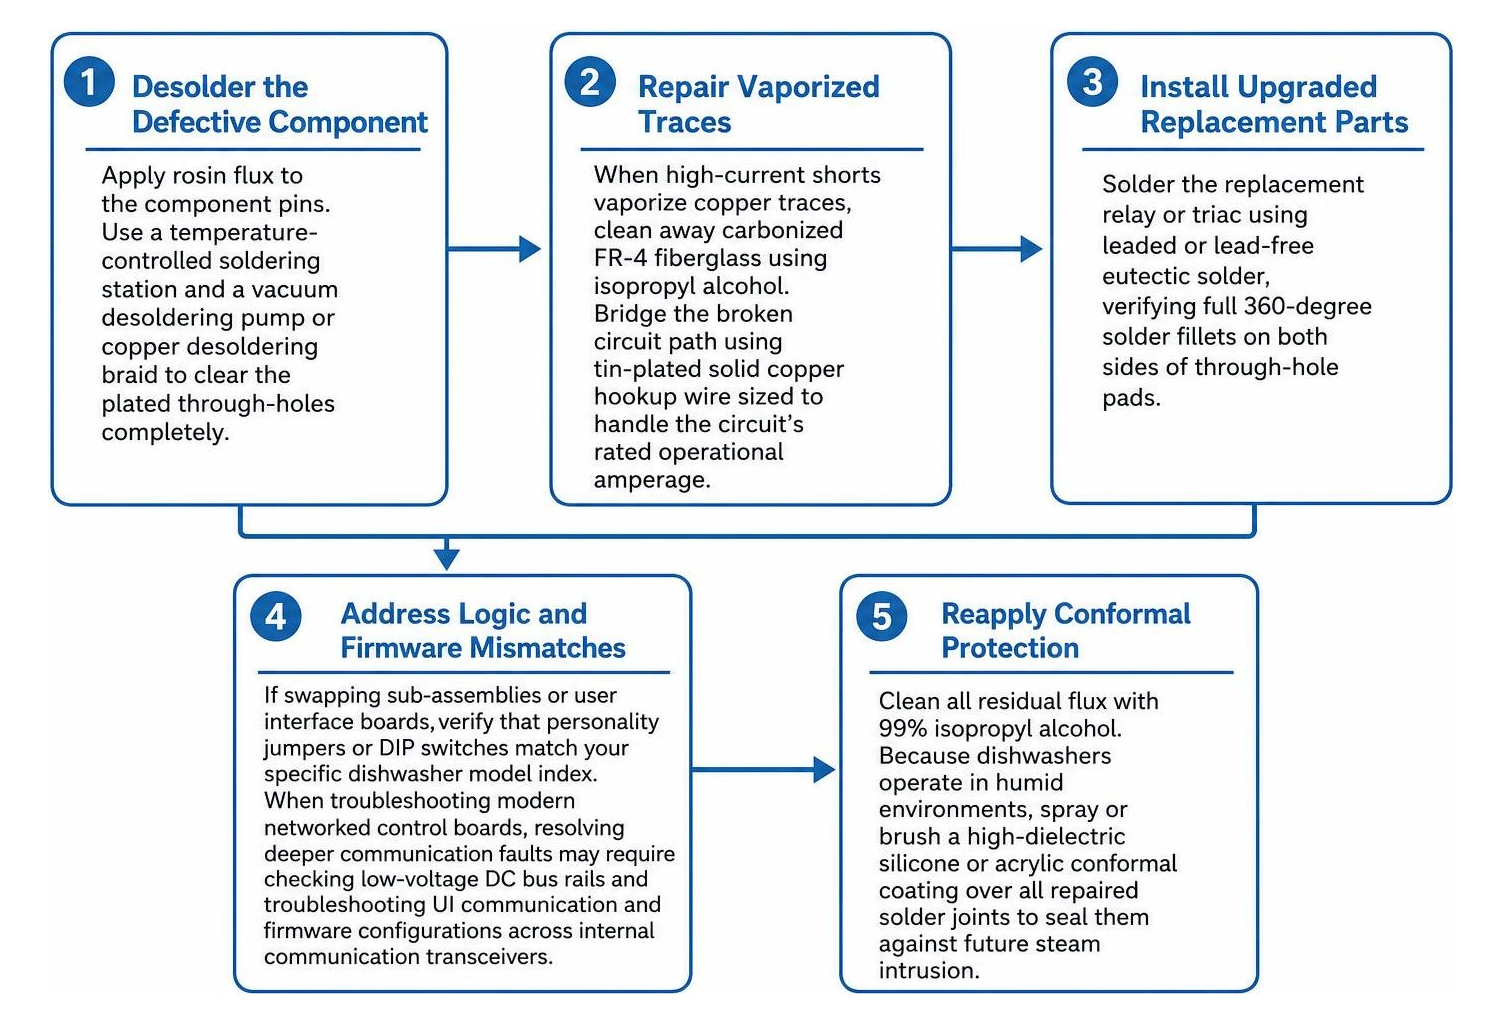
- Desolder the Defective Component: Apply rosin flux to the component pins. Use a temperature-controlled soldering station set between 350°C and 370°C along with a vacuum desoldering pump or copper desoldering braid to clear the plated through-holes completely.
- Repair Vaporized Traces: When high-current shorts vaporize copper traces, clean away carbonized FR-4 fiberglass using isopropyl alcohol. Bridge the broken circuit path using tin-plated solid copper hookup wire sized to handle the circuit's rated operational amperage.
- Install Upgraded Replacement Parts: Solder the replacement relay or triac using leaded or lead-free eutectic solder, verifying full 360-degree solder fillets on both sides of through-hole pads.
- Address Logic and Firmware Mismatches: If swapping sub-assemblies or user interface boards, verify that personality jumpers or DIP switches match your specific dishwasher model index. When troubleshooting modern networked control boards, resolving deeper communication faults may require checking low-voltage DC bus rails and troubleshooting UI communication and firmware configurations across internal communication transceivers.
- Reapply Conformal Protection: Clean all residual flux with 99% isopropyl alcohol. Because dishwashers operate in humid environments, spray or brush a high-dielectric silicone or acrylic conformal coating over all repaired solder joints to seal them against future steam intrusion.
Repairing vs. Replacing Your Dishwasher Control Board
When faced with a failed control module, homeowners and technicians must decide between repairing the board at the component level, purchasing a factory-new replacement board, or scrapping the entire appliance.
| Diagnostic & Financial Factor | Component-Level Board Rework | Factory New OEM Replacement | Complete Dishwasher Replacement |
|---|---|---|---|
| Typical Cost | $150 – $300 | $220 – $450+ | $600 – $1,800+ |
| Turnaround / Lead Time | 1 to 2 business days | Immediate to weeks (if backordered) | Immediate (requires delivery & install) |
| Part Obsolescence Risk | Solves NLA (No Longer Available) board issues | High risk on units older than 7–10 years | None (brand new appliance) |
| Component Reliability | Upgraded parts exceed original factory ratings | Standard factory OEM specs | Factory warranty on entire machine |
| Environmental Impact | Minimal scrap; zero cabinet waste | Discards original PCB assembly | Substantial landfill and raw material load |
Opting for professional circuit board remanufacturing provides substantial savings—often cutting part costs by 25% to 40% compared to purchasing expensive brand-new assemblies—while preventing obsolete appliances from entering municipal waste streams prematurely. Keeping operational hardware in service supports broader e-waste reduction and circular economy practices, extending appliance operating life by 5 to 10 years without sacrificing reliability.
Frequently Asked Questions About Dishwasher Control Boards
What causes dishwasher control boards to fail most often?
Steam intrusion is the leading cause of dishwasher control board failure. As door perimeter gaskets age, they lose elasticity, allowing microscopic steam particles to bypass the moisture seal during heated drying and high-temperature sanitize cycles. This vapor condensates directly onto the PCB, corroding circuit traces and bridging surface-mount resistors. Secondary culprits include line voltage surges from utility switching and excessive foaming from incorrect detergent dosage, which can push moisture into the electrical basin.
Can I reset a dishwasher control board without replacing parts?
Yes, minor micro-controller lockups can often be resolved with a hard power reset. Switch off the dedicated circuit breaker supplying the dishwasher and leave it completely unpowered for 10 full minutes to allow the onboard filter capacitors to discharge. When you restore power, initiate the factory Service Diagnostics cycle using your model's specific keypad sequence (such as pressing any three consecutive keys in a 1-2-3-1-2-3-1-2-3 sequence) to clear stored error codes and recalibrate optical turbidity sensors.
How do I know if my heating issue is the element or the control board relay?
To isolate the cause of a heating failure, disconnect power and measure the resistance across the disconnected terminals of your heating element using a multimeter. A functional residential element typically measures between 12 and 30 ohms. If the element tests within this normal resistance range and shows no continuity to ground, inspect the main PCB. A stuck-open heater relay will prevent 120V line power from ever reaching the element, while a welded relay contact will keep the heater continuously energized even after the cycle finishes.
Conclusion
Soldering a dishwasher control board back to life is entirely achievable when thermal cracks, blown fuses, corroded traces, or stuck switching relays are diagnosed systematically. By ruling out external safety switches first and understanding system-level error indicators, you can safely resolve complex appliance faults.
At HERO Control Systems Ltd., our engineering team specializes in advanced electronics manufacturing, industrial repair, and high-reliability circuit engineering. Whether tackling complex micro-controller diagnostics or designing robust hardware from the ground up, we bring deep technical expertise to modern electronics challenges. If your project demands advanced hardware solutions, explore our capabilities in custom PCB design and specialized board engineering to build reliable, long-lasting electronic systems.